Bed Headboards Made from Tapestry, Large Paintings, and Carpets

A wall tapestry that serves as a headboard. An impressive, unique, and stylish substitute for the conventional headboard styles.


There is hardly a bed without a headboard. With styles ranging from simple and basic to classic and traditional style headboards, you will find that there are a wide variety of designs to choose from, but great-looking headboards don’t have to be conventional and typical.

Headboards Made of Tapestries and Large Framed Paintings

Using wall tapestries as a headboard substitute is not only eclectic and dramatic, but it is also an inexpensive way of finding a substitute for the typical headboard designs.

Large paintings and prints, framed or unframed are also great headboard ideas. You can use one large painting, or a set of prints painted canvas panels, set and spaced to fit the width of the bed and its side cabinets.

Alternatively, you can install a wide painting or print with framing that matches the bed’s wood type.

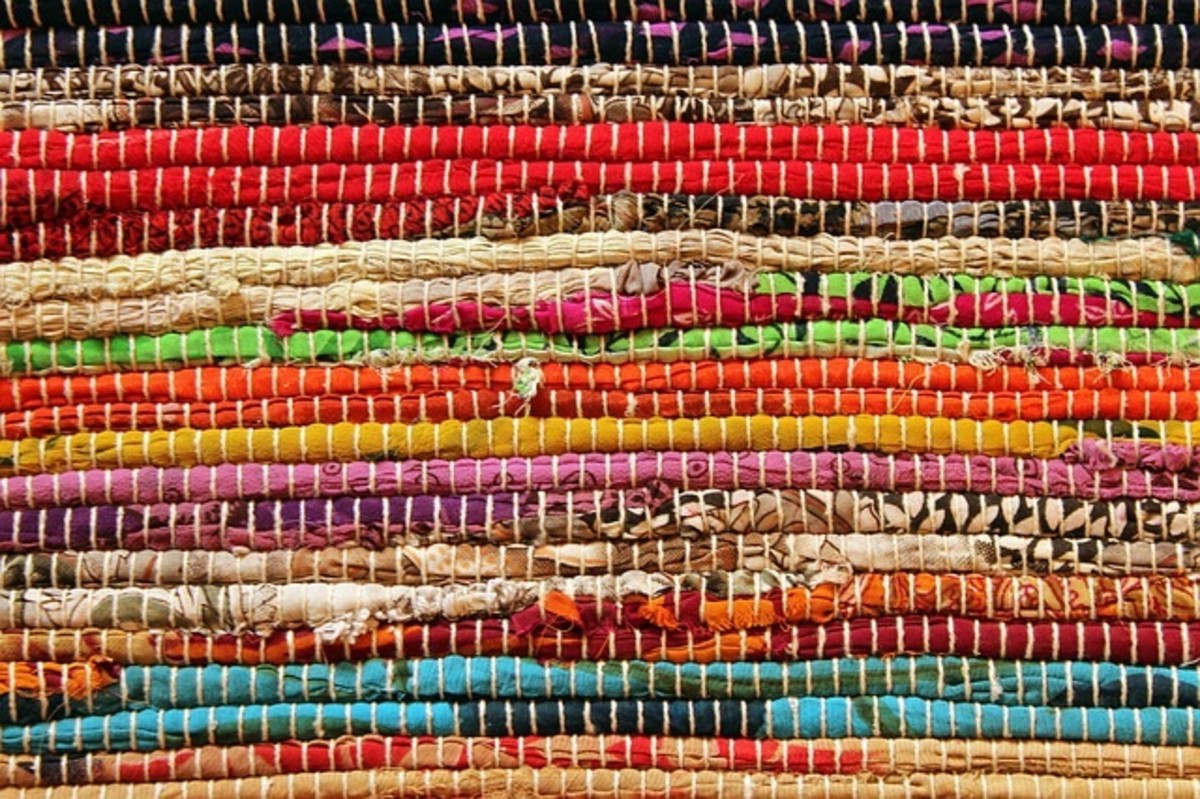
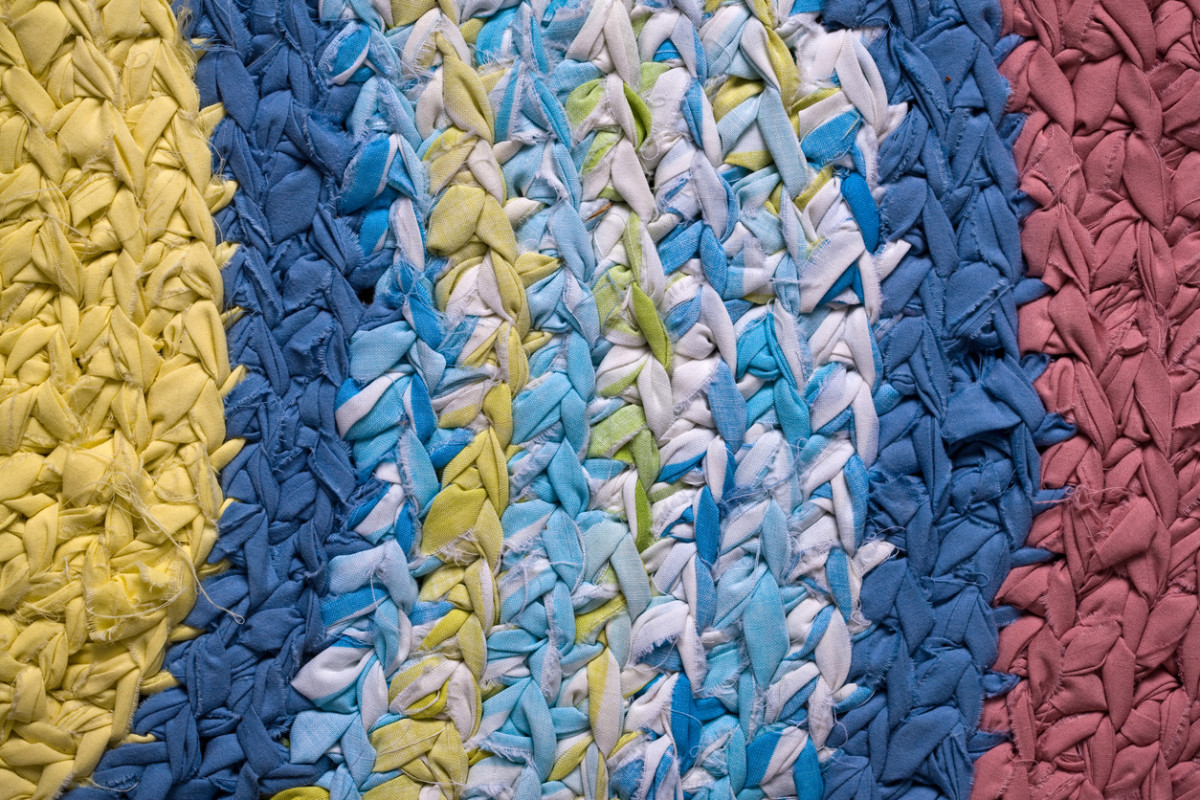
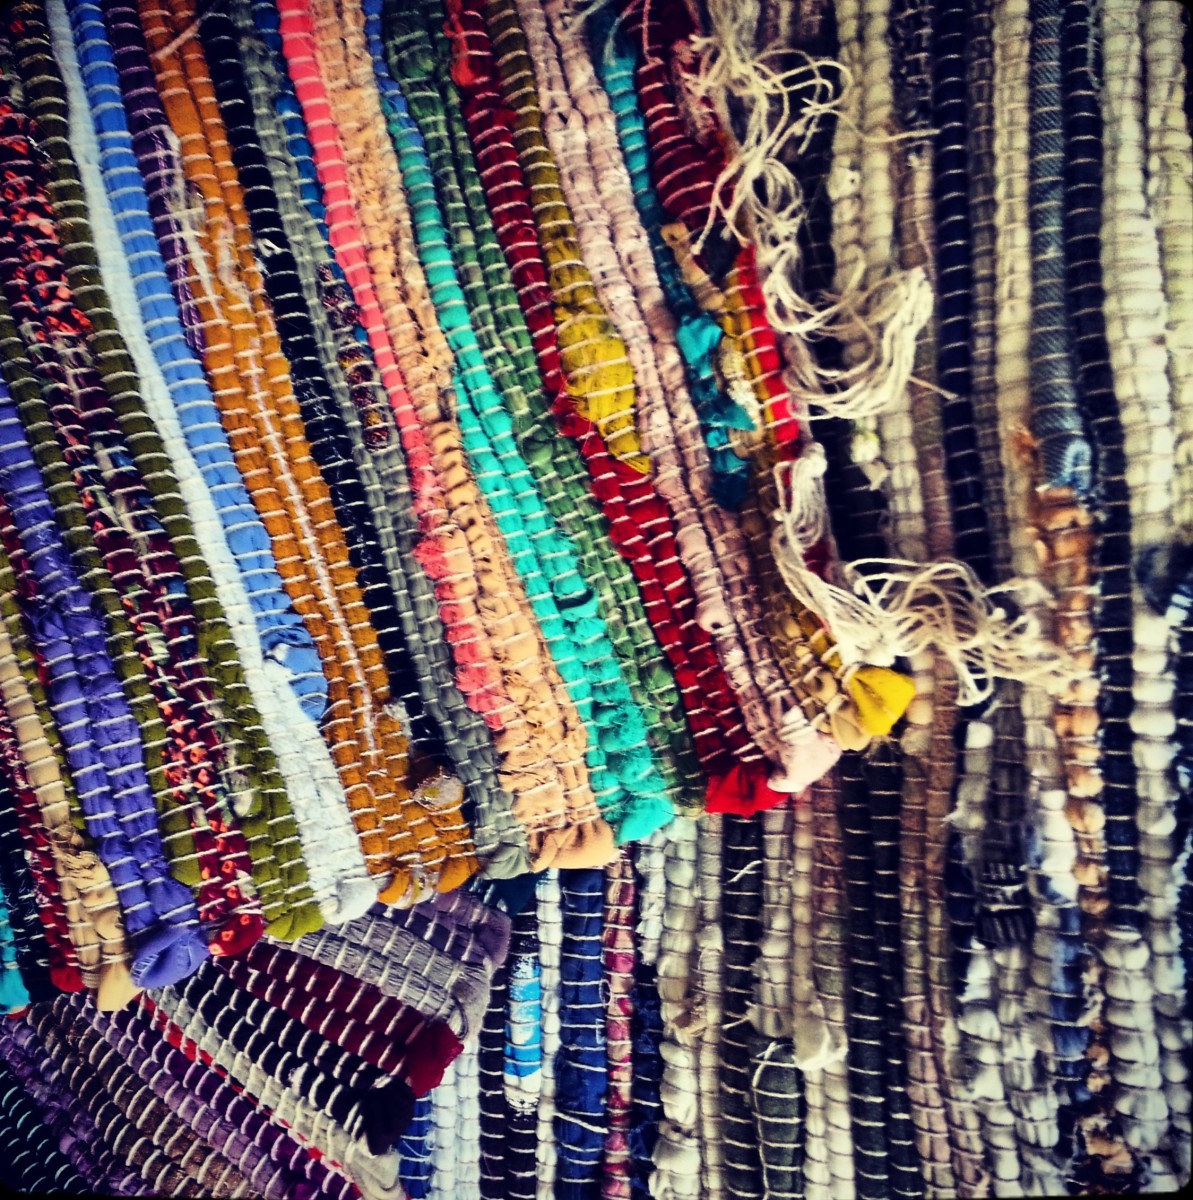
Inexpensive tapestry makes a great one as well and because tapestry usually has a great ‘palate’, it goes a long way in determining a base colour for your bedroom’s colour scheme.

Not only do tapestry and paintings look and feel different, but their beauty will also make the total room decor appear expensive.

Carpeted Headboards

Carpet can serve more purposes than just flooring and can be used to fabricate a headboard. Because carpet is plush and soft to the hand, using it as a headboard makes for extra comfort if you like to sit up in bed. Adding extra pillows will add to the beautiful style and enhance your comfort.

You can use carpet tiles or carpet rolls and you will find them cheap to buy at discount stores or home improvement shops. You can create a simple square or a rectangular shape headboard, but if you are more adventurous, you can have an odd or asymmetrical-shaped one.

The choice of colour or pattern will depend on what you prefer but bear in mind that if the other room finishes are busy, you will need to go for a solid colour carpet. And if, for instance, your bedroom is set up in a minimalist theme, you can choose a carpet with bold colourful patterns to set the tone for an impressive feature wall.

Tips:
  • Cut any pattern you desire from craft paper and ensure that its size and shape conform to the size of your bed. Do this before you start to cut into your carpet.
  • Trace your pattern on plywood and cut it out using a jigsaw.
  • Sand, prime, and paint the edges of the plywood using semi-gloss latex paint and make it the same colour as a plain carpet. For a patterned carpet, use one of the colours in the colour mix.
  • Use adhesive caulk to secure the carpet (give extra allowance) to the plywood and allow it to dry thoroughly.
  • With a sharp utility knife, cut the carpet or carpet tiles to the shape of the plywood and use a rubber mallet to nail in large nail heads 1” from the edge and around the sides and top.
  • Hang the headboard at your desired height.
  • To care for your carpeted headboard, clean it with a vacuum attachment to remove any dust.

Now that you have been inspired by these unique headboard ideas, you will not only save a lot of money, but you will also be pleased that you can create any of them without requiring the services of an interior decorator or home improvement expert.


(Culled from originally published article by the author on Discover.HubPages in 2013)


Articles of interest
How to Develop an Interior Design Concept – 5 Basic Principles to Follow
How to Write An Interior Design Contract Agreement Document

*If you like this post, and find it beneficial or interesting, kindly share it. It will be greatly appreciated :)

How to Make Area Rugs from Old Clothes

People have been making rag-area rugs for centuries, as far back as the 17th to 18th century. Today, there is a renewed interest in its creation and you too can crochet with fabric strips cut from old clothes.


A rag area rug is a traditional handwoven carpet, made from old and discarded clothes This craft has been around for hundreds of years and involves crocheting strips of cloth to create a floor covering.

Long ago, when clothes were so worn that they were no longer useful to wear, they were hardly thrown away and too old to be given out. Every old bit of anything a family owned was recycled and put to good use for the benefit of the family. And if gifts needed to be presented, rag rugs made from the same worn-out materials were used.

Today, the popularity of rag area rugs continues to rise, and people love them so much that they either go out to buy one or hand-weave one for their own use or as a gift. Also, for those who love craft-making, ‘rag-rugging’ is great fun and when it is completed, makes a wonderful item to spread on your living room or bedroom floor.


A rag area rug made from different pieces of old or discarded clothes.

Materials You Can Recycle to Make Rag Rugs

Making handwoven rugs is a great way to recycle your old garments which can include:
  • Old jeans
  • Blankets
  • Bed sheets and pillowcases
  • Shirts and skirts
  • Old jumpers
  • Old but soft leather bags
  • Curtains and drapery
  • Old towels
  • Ribbons
  • Toughened plastic bags.

The best rag area rug has a good mix of fabrics in a planned colour-coordinated way and a variety of textured materials can also be added to the mix.

If you would rather use new strips of fabric instead of old clothes, you can purchase a mix of cheap or fabric rejects online or from any of your local fabric shops. Wherever people live, cheap fabric shops and flea-type markets abound so especially look out for leftover strips gotten from bales of fabrics.

There are different types of rag rugs and each is constructed differently from the others. They can come in one solid colour or as a multi-coloured rug.

If you want a soft rug, use fabrics that are soft underfoot like bedsheets, pillowcases, or old t-shirts. On the other hand, if you want a rag rug that is thick, strong, and longer-lasting, you can use old jeans, suits, or flannel.

If you can crochet with yarn, then you can crochet a rag area rug with fabric strips. It’s the same basic crocheting principle. Don’t worry too much about perfection because the idea of a rag area rug is not to achieve the intricate look of a machine-woven carpet. These are handmade rugs meant to be a work of art and therefore need not be perfect.

A close-up photograph of a crocheted rag rug made of recycled rags from 
old bed sheets and pillowcases. 

A variety of rag rugs.

How to Make Handwoven Area Rugs

Rag area rugs are quite easy to make and if you are skilled at the art of making them, you can complete one (depending on its size) in just a couple of days. For a beginner, the process is fairly straightforward and if you can do some simple crocheting, you can make a rag rug because the most basic and simple technique of crocheting will suffice. The tools you need to make a rag rug are:

  • Needle and thread
  • Sewing machine
  • A sharp pair of cloth scissors
  • A large crochet hook (the US size Q is perfect for the job)
  • Old clothes or other textiles found around the home

Method

Make sure you have enough materials to make the rug size you want but if you are a beginner, just use what you have available and consider it a test run. But if you have a certain space you'd like to use the rug and need it to be the right size, you'll need to be sure you have enough material to use.
  • Cut all the material into I” or 2” strips depending on the fabric and the look you desire.
  • If the strips you have are short, join them together by sewing or knotting at the short end to create longer strips.
  • If you can crochet with yarn, then you can crochet a rag area rug with fabric strips. It’s the same basic crocheting principle. Follow a half double crochet
  • With the large crochet hook (large crochet hook allows looser stitching) start the rug with a chain stitch as long as you want the rug to be wide.
  • After you create a chain, start the half-double crochet stitches.
  • Wrap the strip around the hook and hold it with a finger so it doesn’t slip off the hook.
  • Push the tip of the hook through the hole, hook the fabric strip and pull the hooked strip out through the hole.
  • Continue to pull it through both the loops on the hook.
Don’t worry too much about perfection because the idea of a rag area rug is not to achieve the intricate look of a machine-woven carpet. These are handmade rugs meant to be a work of art and therefore need not be perfect.

Tips:
  • Add on strips as you crochet or make all that you’ll need in advance.
  • Make all your strips up first if you plan to dye them to look evenly random.
  • If you want simple stripes on a rectangle rag rug, for instance, you can add on as you crochet and change strip colours at the edges as is required.
  • Using a large crochet hook allows stitches to be relaxed so it’s easy to unravel if you hate the end result and want to do it all over again.
  • You can get area rag rug-making kits that have every tool you will need for your task, including backcloths.
  • On completion, iron it with a steam iron, especially if the edges are ruffling.

Rag Rug Making, a Perfect Craft for the Family

When kids are free or on vacation and want something exciting to do, give them this fun task to do. They can make their own rag area rug for their bedroom, or for any other space in the house. And if they get good at making them, they can sell them to family and friends and earn some money in the process.

Even the elderly can join in the fun of making handmade rugs. They have a lot of free time on their hands to take up rug-making crafts. They may even take the craft up to earn some income too.

They will make great gifts for their family members, and friends, and even as gifts for children in orphanages, and homeless people in localities to help insulate them from the cold.


(Originally published by the author on Discover.HubPages in 2009)


Related articles


If you like this post and find it beneficial and enlightening, kindly share it on social media. It will be highly appreciated :)

Affordable Headboard Idea: Gallery of Framed Photographs and Artwork

Create a headboard with a cluster of framed images that show your personal style.
(Image created by viryabo@polyvore)

If you are a conformist and feel safer keeping to conventional headboard designs, you’ll be losing out on expressing your creative ideas. However, non-conformists who like the unusual and wish to reflect it in the style of their bedroom don’t follow any hard and fast rules when it comes to home décor. They get creative and save money in the process.
This unique headboard idea involves hanging a cluster of framed favourites on the wall above the bed's head. Framed art can be anything from black-and-white photographs to abstract paintings, all in varying sizes for an asymmetrical look or, if you prefer, arranged in a symmetrical order. This arrangement will not only create a focal point for the bedroom but also make the entire room look very impressive.

If you have a collection of pictures that hold fond memories of loved ones, pets, friends, or colleagues, instead of having them stashed away somewhere, soon to be forgotten, gather them together and frame them with different coloured picture frames. Use them to create a gallery to serve as a headboard.

If you don’t have such collections, use art. You will find small art images and pictures at flea or street markets.

Tips

  • Use sepia or black-and-white images with white or black frames for a classic vintage look.
  • For a more colourful and modern look, use coloured photographs in bright colourful frames.
  • For a dramatic look, hang as many as you desire, even up to the ceiling if you love the look.
  • Ensure you allow a gap between the bottom line of the photographs and the top edge of the bed to give you enough space for ample pillow arrangements.
  • The trick is to ensure they are all small-sized framed art in varying sizes.


(Culled from originally published article by the author on Discover.HubPages in 2013)


Articles of interest

How to Apply Ceramic Tile Grout

Most DIY home repair enthusiasts can apply ceramic tile grout. It isn't as hard as many may think. If you are just learning how to grout or need a few tips to help you along, this article will give you grouting tips, tell you what you need to carry out the task and how to maintain your grout works.


How to Fill Gaps Between Tiles


Ceramic tile grout mix is a kind of filling material that is used in the construction industry, mainly for masonry works involving the application of tiles. It is used to seal ceramic tile joints after tile installations and to fill voids and cracks in between the ceramic floor and wall tiles.

The materials used for grouting depend on what material is being joined together. It can be composed of a cement and sand mix if it is required for filling cement block joints, or a cement-based epoxy if it is for filling joints of ceramic wall and floor tiling.

When you have coloured tiles but no matching epoxy filler, a colour tint of any shade can be added to the mix. With that, the tile grout will be a close colour match to the already laid tiles. Grouting material can also be made in a contrasting colour that highlights or complements the tiles. If this is the case, the colour tint and epoxy mix will contrast with the tiles.

Grouting is a simple task and can be done by most DIY enthusiasts. As long as you have the essential tools and grouting materials, the application is not a job that requires the services of professionals.

However, if you are not a hands-on person, you can always call in professional tilers from home improvement stores who will carry out your grouting works to your satisfaction.

Tools Required to Apply Ceramic Tile Grout


Before you commence the application, you will need to prepare adequately. Grouting can be a mess if you don’t use the right applicators and tools. To ensure a job well done, you'll need these simple things to perform your grouting task- whether you are installing new tiles, or re-grouting discoloured, broken, or chipped old grout works: 
  • Grout Saw/Remover (an electric grout saw ensures a faster job)
  • Scraper
  • Float
  • Sealer
  • Attachment
Grout Saw: A grout saw is composed of tungsten carbide blades and is used to cut and remove old tile grout. This is required if renovation works are being carried out on existing laid tiles.

Scraper: A scraper is a simple hand tool that is required to remove old grouting that has been discoloured with age.

Grout Float: A grout float is similar to a trowel used by masons but it has a sponge rubber pad at the bottom. It is used to smoothen the surface when it's just been freshly applied to the tile works.

Sealer: The sealer is water-based and is applied over dried grout. They must possess qualities that resist water, oil or acid-based contaminants.

Guide (Attachment): A grout attachment acts as a guide. It is placed over a rotary implement and it helps in the quick removal of old ceramic tile grout. It can be used in place of the saw for faster and better grouting work.

Preparations Required Before Grouting


Preparing for grouting works actually commences before laying the tiles. You want to determine how wide or narrow your spacing (gap between tiles) will be. To do this, you will need plastic spacers.

Plastic spacers help to space tiles evenly and squarely to ensure that the tiles are laid perfectly straight and squared and the gaps are the widths of your choice. After tile application and before grouting, the X-shaped flexible plastic spacers should be removed.

Now that you are ready to commence your grout work,
  • Mix the grout material with water. Note that the quantities required will depend on how much tiling needs to be done. Follow the instructions on the package carefully and ensure you use the right ratios of tile grout to water (or the acrylic latex liquid) mix.
  • Buy grout material that has an acrylic latex additive in its components. This will ensure good flexibility and eliminate the chances of having fine line cracks a few weeks after it has hardened.
  • If the tile grout you have purchased comes without the additive, you can get some acrylic latex liquid admixture which can be used in place of water.
The process of applying a white grout mix to a bathroom wall finished with blue ceramic tiles.


Instructions on How to Grout

These simple 10-step instructions apply to both wall and floor tiles grout works.
  1. Spray the already-tiled surface with a light mist of water. You can do this in sections so the water doesn't dry faster than you can work. The moisture will give the mix some moisture that without it, would affect its setting.
  2. Scoop some amount of grout onto the surface starting from the inner corner of the room. Spread the paste with a grout float held about 30 degrees horizontally from the surface and move in a wiping motion at an angle to the gaps.
  3. Work in a consistent pattern and avoid haphazard smearing.
  4. Carefully and evenly spread the mix while compacting it into the gaps. Add more grout and spread until the spaces are well compacted.
  5. Use the edge of the float to scrape off the excess grout from the floor or walls and wait for 20 minutes (or whatever time is stipulated on the package). During this waiting period, clean all messy grout from the edges of the walls or floor in case there has been a bit of smearing whilst grouting.
  6. Sponge-clean the tiles. Cleaning with a sponge removes the thin film of grout from the tiles without affecting the grout within the gaps. It is important to keep to the stipulated waiting time or it will become difficult to remove the tile grout film.
  7. Rinse the sponge often while cleaning, ensuring the water is wrung out well. Always wipe gently but firmly.
  8. After about 40 to 45 minutes, again depending on the stipulated drying period on the package, clean the faint residue of grout off the tiles using a simple paper towel. At this time the grouting has hardened, though not thoroughly, but enough to give a good clean a chance.
  9. After the application, give your finished work a spray of misty water twice a day for three days after grouting.
  10. After curing, apply the grout sealer to prevent the growth of mould and mildew, and prevent staining, yellowing, or darkening.

Ceramic tile grout mix comes in a variety of colours so there is something in the market that will suit each individual need. There are also the un-sanded and the sanded varieties which contain some sand, great for those who want a special effect grout finish. The sanded type can be used for wider gaps because the sand serves as a filler, while 'un-sanded' grout is used to fill very thin gaps in mosaic tiles, marble tiles and granite tiles.

How to sponge-clean excess floor tile grout.

How to Maintain Ceramic Tile Grout

Occasionally, clean your tile grout by applying a baking soda paste on the grout, leaving it on for some time, and then washing it off. Alternatively, you can use a solution of water and hydrogen peroxide to clean grout, especially if it is stained, or yellowing. You can also use a commercial grout cleaner and let it sit for about 15 minutes before scrubbing the dirt away with a sponge and rinsing it with clean water.

Another way to clean and maintain grout lines is by adding oxygen bleach powder to your mop water (for floors) or your cleaning water (for walls). Apply the solution liberally and on the grout joints. Leave it on for about 15 minutes, then clean thoroughly with clean water.

For a homemade cleaning solution, mix together a half-cup of baking soda, a quarter-cup of hydrogen peroxide, and one teaspoon of dishwashing liquid and apply onto the grout/ after about 10 minutes, scrub off the mixture from the ceramic tiles grout lines and rinse well.


(Originally published by the author on Discover.HubPages in 2009)


Articles of interest

*If you like this post, and find it beneficial or interesting, kindly share it on social media. It will be greatly appreciated :)


Decorative Lighting Design for Homes and Offices

Why does lighting design play a major role in interior design, and why is a lighting plan an important part of an interior designer’s proposal? Find out why lights and lighting are important, and how they are integral parts of any interior design concept.


Lighting is the most practical, exciting and mysterious of all design mediums. It's exciting because of the ability to transform any physical object it illuminates. A mysterious medium, because light rays are invisible to the naked eye until they touch an object. And it is practical, because of its value to our lives and aesthetic properties.

Light possesses the absolute power to enhance and display objects to the human eye so it's virtually impossible to evaluate any visual effect without the presence of lights. To understand lighting and to design effectively, an electrical lighting designer must understand its technology and at the same time aim to be decorative.

Types of Lighting and How It Relates to Interiors

Illumination and the use of light to achieve a general, creative, or aesthetic effect include artificial lights at night and natural daylight that captures the day. So, whether you’re lighting your home or office, incorporating all three types of lighting into your interior design theme will ensure you create the ideal stylish space in every room. Three types of lighting are directly related to interior design.
  1. Ambient lighting
  2. Accent lighting
  3. Task lighting
 
Ambient lighting
Ambient lights are general lights that are a necessary part of any good lighting plan. These are the lights that provide an overall glow to interiors. They are meant to set the tone for space and create enough light to see and move around safely and comfortably.

Ambient lighting generally consists of overhead light fixtures that include recessed lights, ceiling lights, spot and track lights, pendant lights, and chandeliers. Table and floor lamps also fall into this category.

Accent lighting
They create a focal point that builds on the ambient lights in a room. By adding dimension, accent lights are used to draw attention to decorative features like wall art, plants, or a display statue, and highlight them as special design elements of the interior.

When well placed, accent lights draw attention to the elements, without drawing attention to how it is being lit. Examples of accent lighting include track lights, recessed lighting, picture lights, and wall sconces. They can be set at an angle and directed to serve as a spotlight.

Task lighting
These are localized lights and are provided by a variety of different sources. This allows for adjusting the lighting of a workspace and brightening or darkening it as required. Effective task lighting is ideal for reading, cooking, studying, or working. Basically, it is meant for whatever activity or work it is needed for.

A good task light should provide about 40 to 100 watts to a workspace. Task lighting can be created using various light sources like recessed lights, track lighting, desk lamps, or adjustable task lamps. Halogen bulbs can be used for task lighting because they produce white light similar to natural daylight.

Lighting and Interior Design

One of the few design elements that can be changed or manipulated easily and quickly is lighting. With the click of a light switch or the turn of a dimmer switch, light can alter interior space aesthetics, moods, colours, patterns, or intensity.

Lighting is used to direct attention to some great interior décor piece within a room because the eye always (unconsciously too) seeks out the brightest and most interesting object in its field of vision. At night, outdoor lighting is used effectively to direct movement through or within an outdoor environment.

There is no doubt about the importance of lighting design and how it is being used as a direct source of interior design and decoration. Below are some examples of how lighting properties can be related to the area, space, and interior design.
  • Lights reveal objects' shapes and forms. It can make an object look flat, or it can visually increase its dimensional form.
  • Effective lighting design can cause objects to seem to recede into the background, or it can visually accentuate the separation of planes.
  • On stage in the theatre, an effective lighting design can make old starlets appear younger, and younger stars with elderly roles will actually look aged.
  • In the home, a good lighting design with a warm effective ambiance can make home occupants and guests look calm, healthy and refreshed.
  • It is a well-known fact that light placements are used in jewelry shops to enhance glass, making them look like gems. This is achieved by cleverly manipulating lights through a lighting designer's creative skills.
  • Interior designers know that costly furnishing may look like discount store copies with the wrong lighting. So beautiful qualities such as sheen and colour should be properly revealed with enhanced lighting.
  • Store lighting designers have a way of lighting up meat counters so that meat looks fresh throughout their opening hours (even though stale food may be slightly off-colour). Vegetables will look crisp and fresh at all times with the right lighting illumination.
  • Silhouette projections produced by lights can form interesting surface patterns on floors, walls, or ceilings.
  • Transparency projections can produce an impression of detailed realism or visions of the wildest 'flights' of our imaginations.

The Architecture Of Light (2nd Edition): A textbook of procedures and practices for the Architect, Interior Designer and Lighting Designer - This is a vivid, image-packed book of lighting concepts and techniques. It is the perfect companion for lighting design students and professionals alike.

Effects of Lights on Colours

Colours in an interior space can be delicately balanced by selecting different light sources, each with its own specific attributes. So for example, if the interior décor is dominated by reds and blue tints, it's possible to subtly alter the emphasis of each colour by supplying different artificial light sources.

In interior spaces, no single source of light is visually pleasing. It is good to have a mix of portable lights such as lamps and installed lighting fixtures. Using excessive light from one source and in one place causes a wild glare and can become (quite) unpleasant. It is better to use more light sources for a successful and more effective lighting scheme.

Lighting, as an abstract and intangible design component, has a significant influence on our perception of the environment around us and whether or not our visual experience will be pleasant (or not) depends on a lighting designer's skills in creative lighting design.


(Originally published by the author on Discover.HubPages in 2019)


Related Article:
Interior Lighting and Its Effect on Your Colour Scheme